

Created 8/17/16
Making Shapes
Here is me figuring out some of the controls of Autodesk 3D MAX. We created all type of shapes, such as Spheres, Squares, Teapots, Pyramid, Tubes and Donuts (Torus (Image 1).
Created 8/19/16

|
|
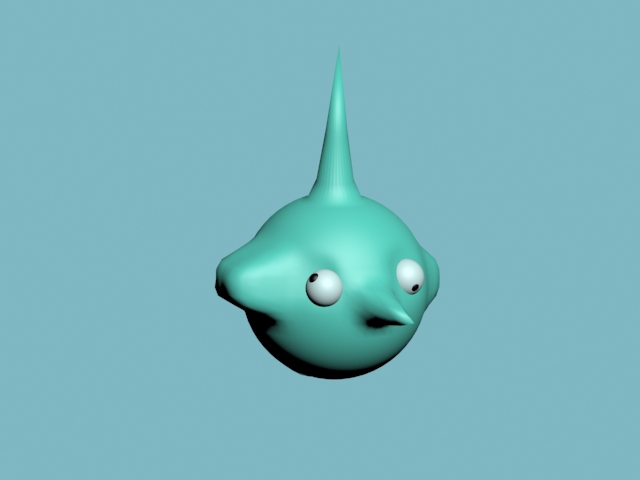
3D Head
In this project, we tried to make a head. We first created a sphere and used a Modify tab to create eye sockets, ears, nose and a pointy head (Image 1-2). For the eyes, we used 2 spheres for one eye, one for the Cornea and one for the Pupil. We just tried and put the cornea in the socket and forced the pupil in the cornea's sphere. (Image 1-2)
Created 8/23/16 - 8/31/16
|
|
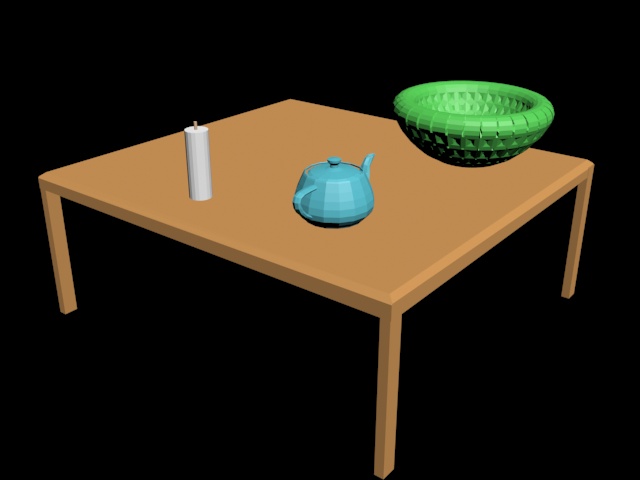
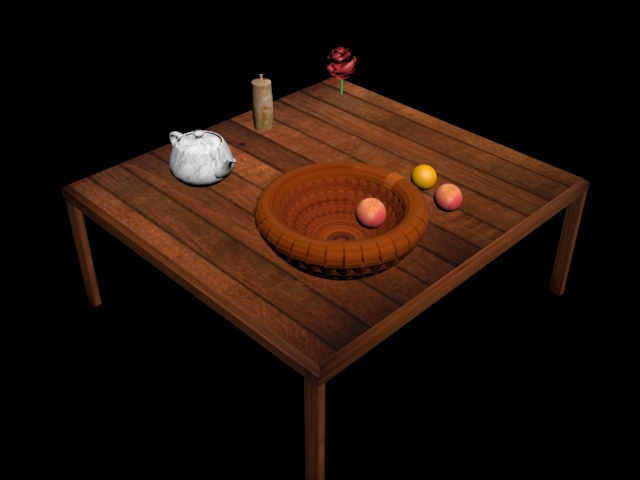
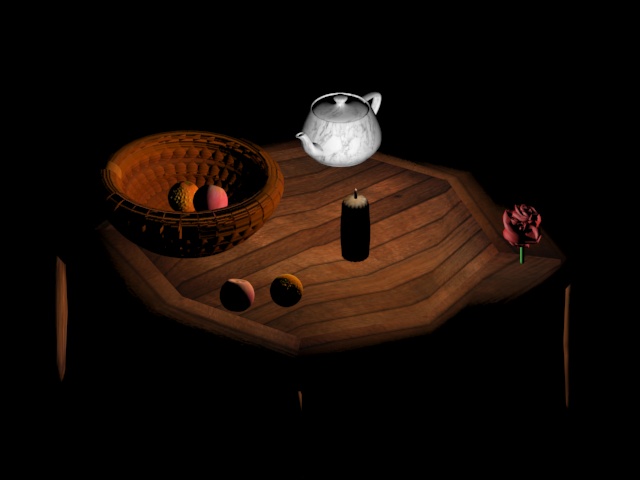
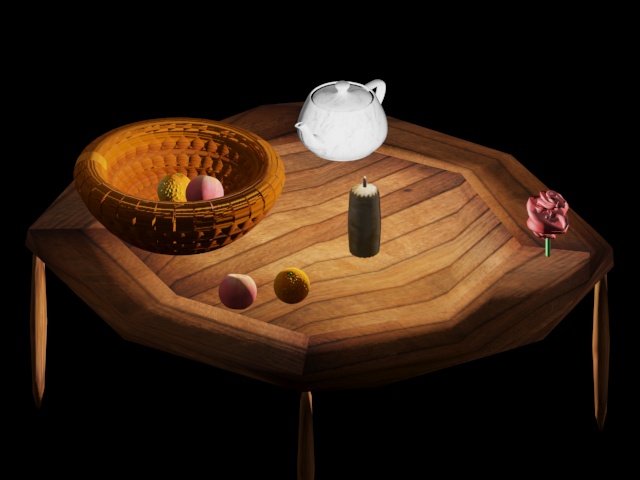
Table and Fruits
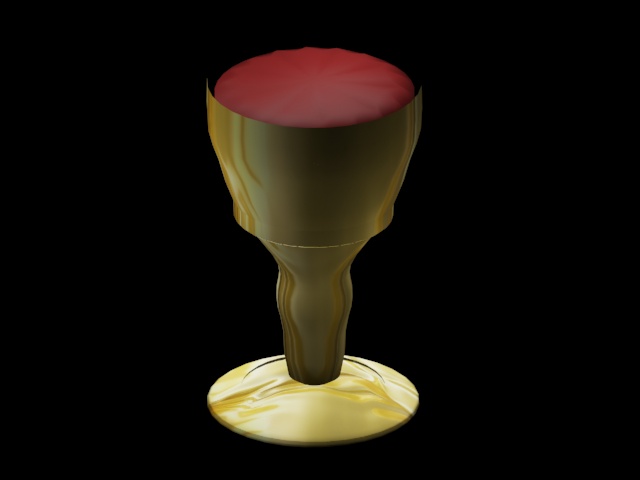
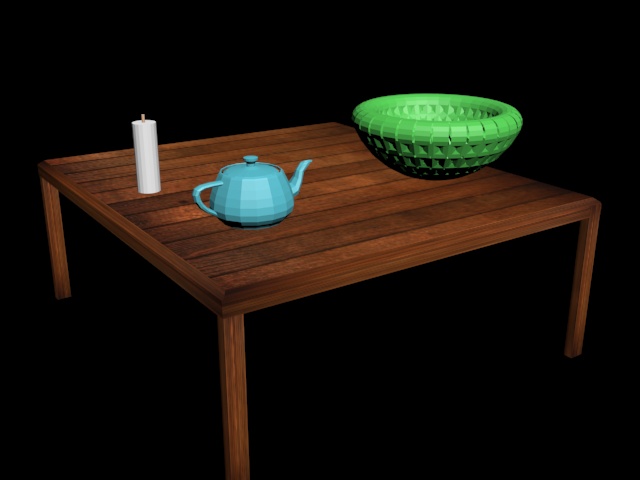
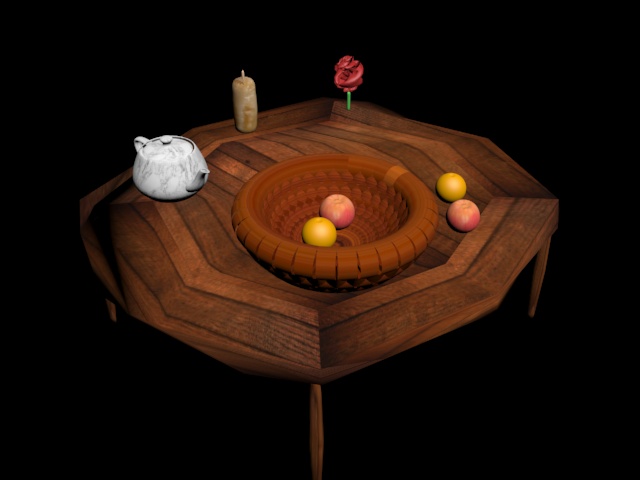
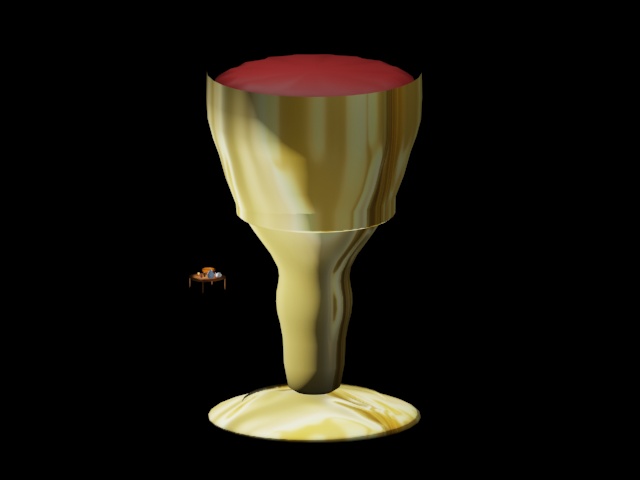
This project we created a table with food and other things. We also added details to the food and table by finding photos on the internet to overlay the smooth table, teapot, candle and the other fruits (Image 1-4). We also used a modifying menu to create more detailed fruits and added a stem to make the apple more apple like (Image 5 and 8). We also made a flower by bending a sphere a lot to make it look all messed up which became a rose type sphere (Image 3). To create the different table I made the table Turbo Smooth modifier, which resulted in this Octagon shaped table (Image 4). To create the Goblet Cup I found a picture on the internet and pasted it as a material for a 'Plane Shape' (Image 6). Then we modified it and retraced it with an option called 'Line' we just crop it into a cup and used a modifier called Lathe which makes any object that you drop into a 3D shape, which turned into my goblet cup (Image 6-7).
Created 9/7/16 - 9/15/16
|
|
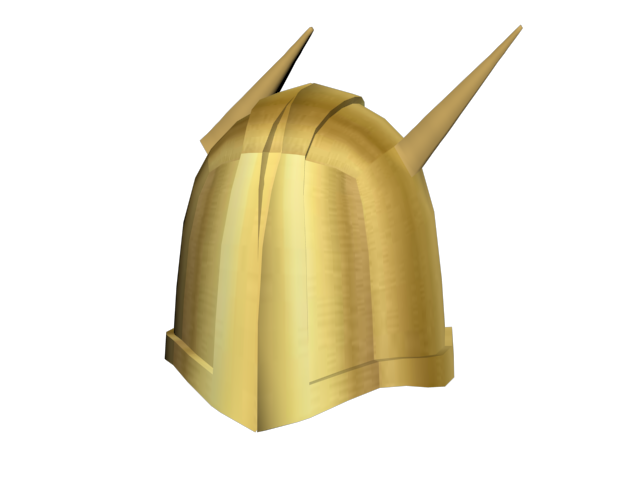
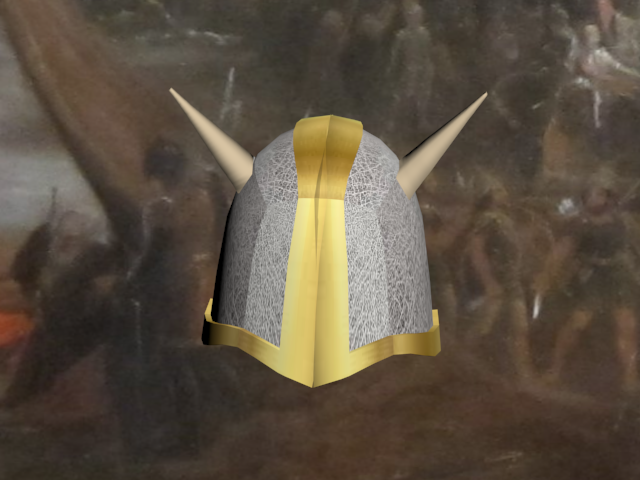
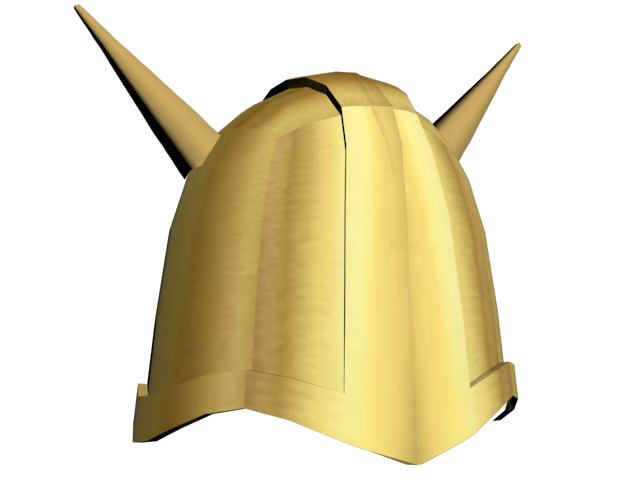
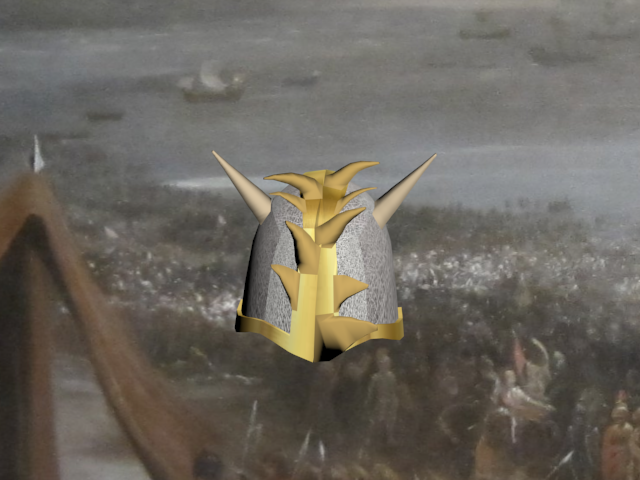
Helmet
To make this helmet we first started with a sphere and made it an editable poly. We then warped it into a square and then make it look like a mix of a sphere and a square. We cut the sphere in half and did a vertical option to make a pokey tip for the helmet. I then changed the bottom of the helmet like a wave (Image 1). After cutting it in half we made is smooth with Meshsmooth and made the top of the helmet more of a curve. Again we cut it in half using a modifier called Symmetry. We then changed the lines to make it separate from the helmet and indent the sides and bottom of the helmets. After doing this, we reset the Symmetry modifier and the second half connected and looked exactly as the half we were working with earlier. Lastly, we added horns by selecting spots where we want the horns with the Polygon mode in the Selection tab (Image 1 and 2). I added horns on the tabs above and clicked " Freeroam " and chose branches which gives it a horn look. For the horn, I changed the material and detached it from the helmet and make its own material. I then added horns right down the middle of the helmet to make it more detailed (Image 4).
Created 9/13/16
|
|
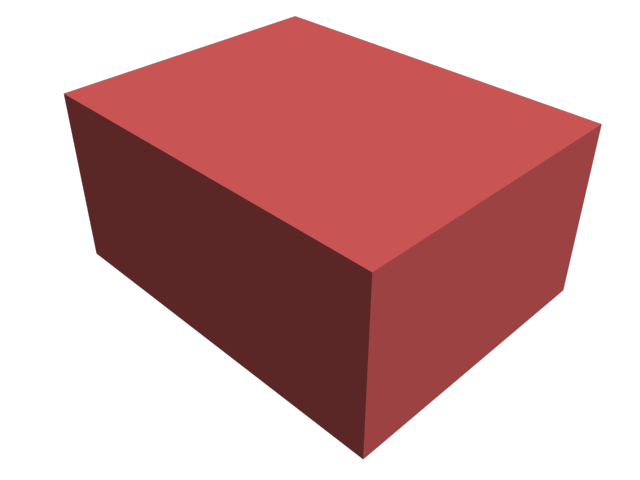
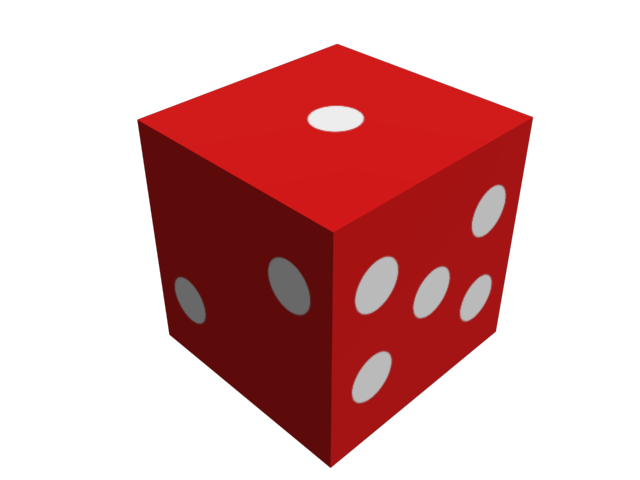
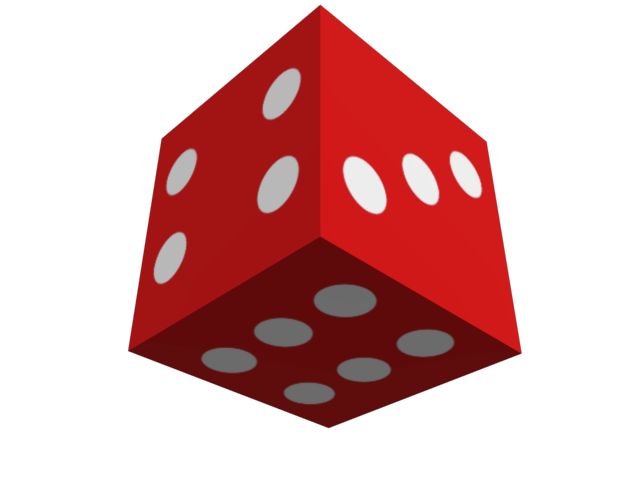
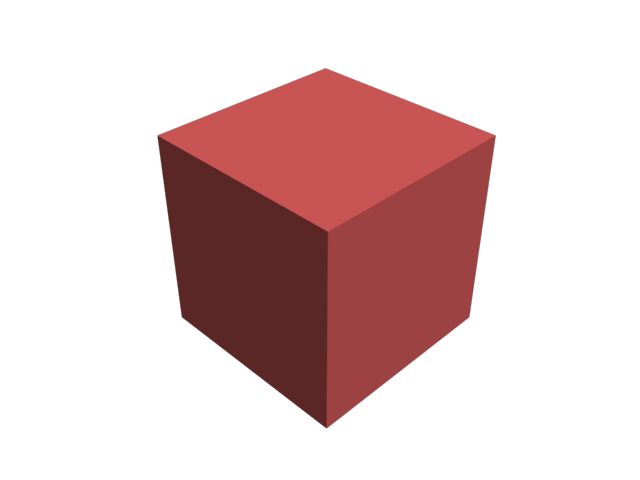
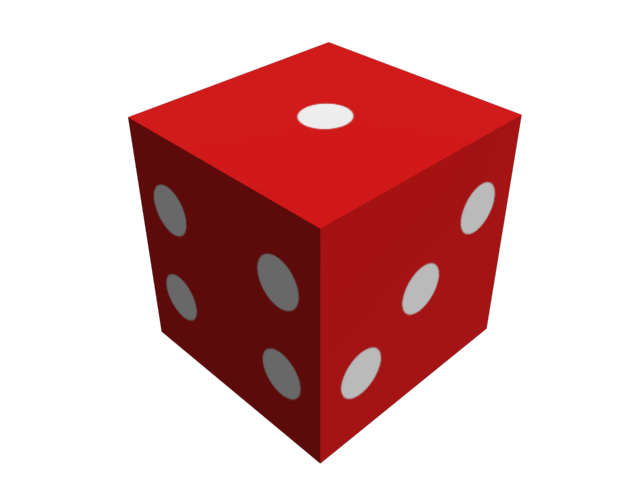
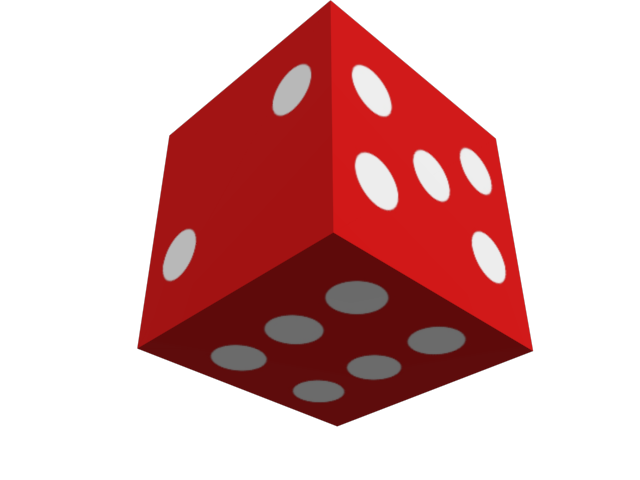
Dice
To make this dice all I did was start off with a square and equally, make the dice the same length and width (100x100) (Image 1). Then we used the Material Picker and chose the " Multi Sub-Object ". I added in total 6 different slots to put materials in. Each slot will contain a dice number 1-6. I put in every slot one picture of the each side of the dice and Showed the Material and applied it.
Created 9/21/16 - 9/29

|

|

Wheels/Tires
To create this tire we used Line in the Object Type Tab. First, we changed our viewport to the front. With Line, we created a lamp that is cut in half after we modified it with Lathe. Lathe turned the object into a 3D object (Image 1). We changed the direction on the X-Axis to create it's wheel shape. We used Editable Poly to changed the wheels in the inside to make it more like a car's tire. To add multiple materials o just highlighted them and used Editable Poly to use a specific are to put a material on (Image 2). After I just copied the tire and divide it into 4 different tires/wheels (Image 3)
Created 10/3/16 - 10/11/16

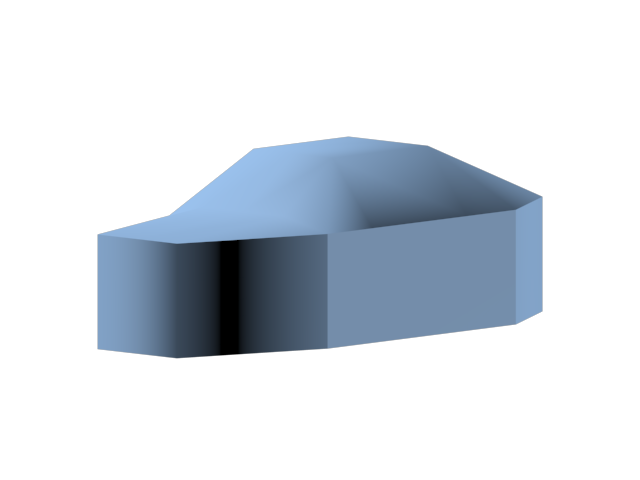
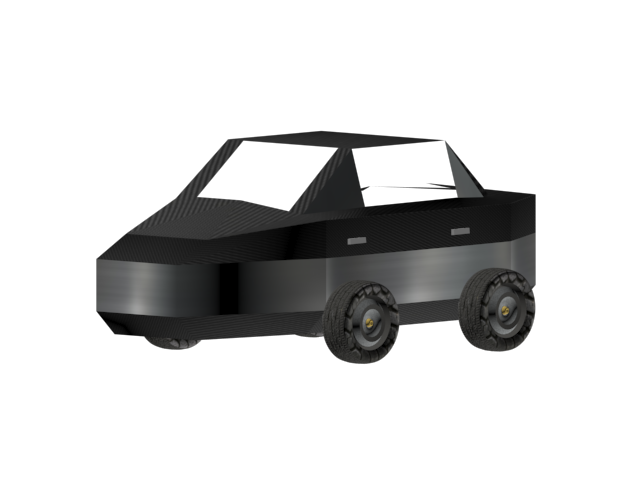
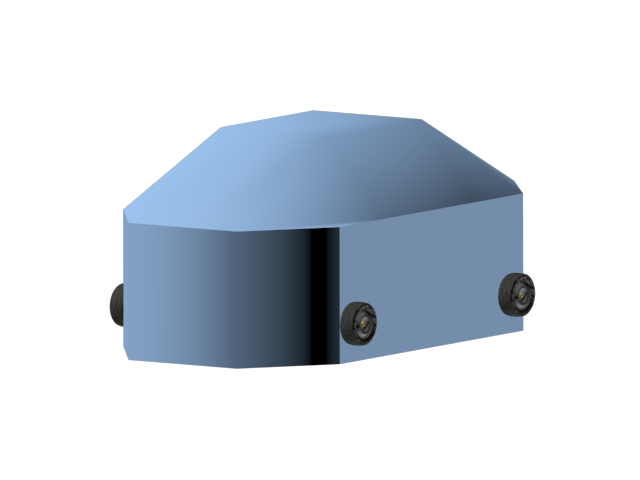
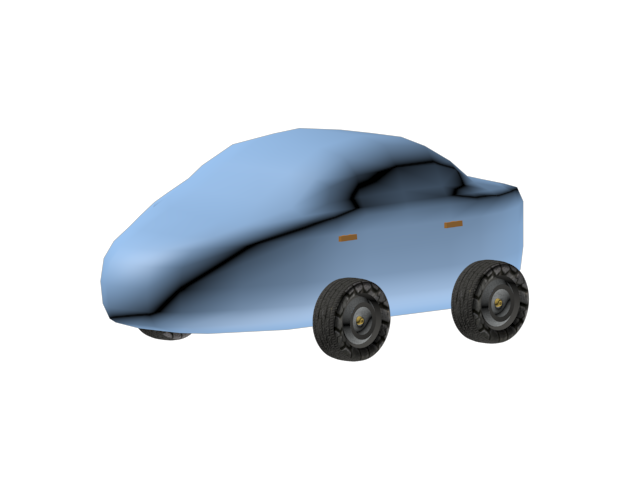
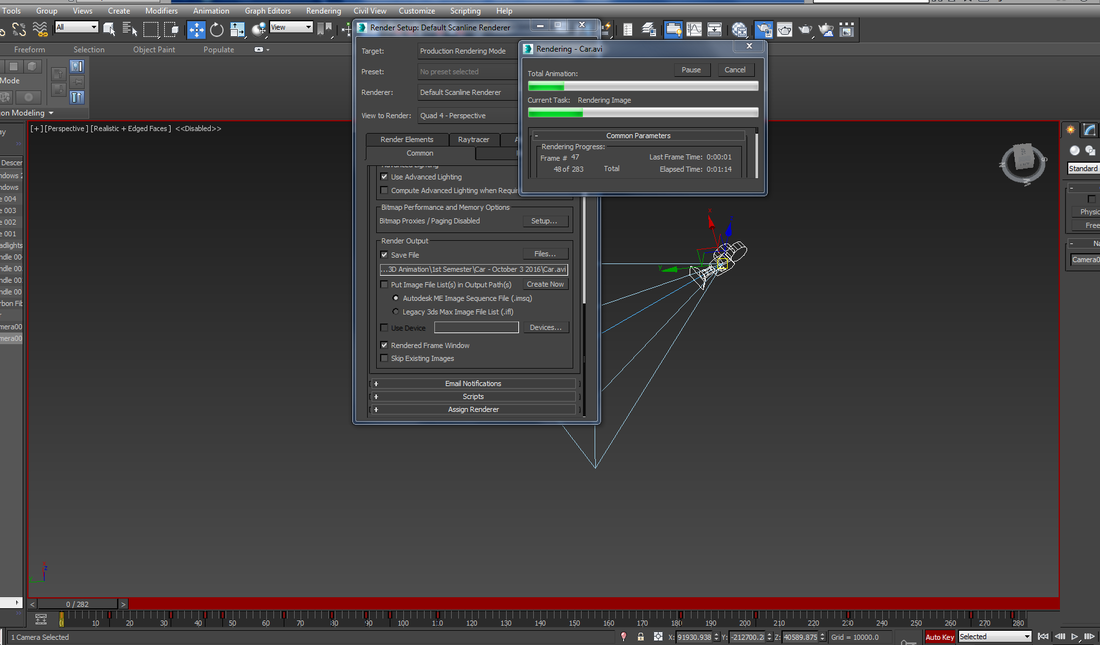
Car/Vehicle |
|
To make the car I copied the file from my wheel project and make a box to put the wheels on the side (Image 1). To make the box more like a car changed the parameters, so I have more places to make the car more detailed. I made the box into an Editable Poly and used Vertex. I used parts of the car to make the care more pointer and more curved (Image 2). I then extend the front part of the car and the trunk to make it longer instead of a short golf cart (Image 3). I added a turbo smooth and resized the wheels to match the car's size, after it I added a door handle to make it more detailed (Image 4). I then added my materials to the car, on the side its is like a Steel Texture and the other colors is a Carbon Fiber Texture (Image 5). On the last picture, I started to render a video of showcasing the car (Image 6). THE FINISH PRODUCT HAS A VIDEO IN THE 'VIDEOS TAB'
Created 10/11/16 - 2/2/17
|
|
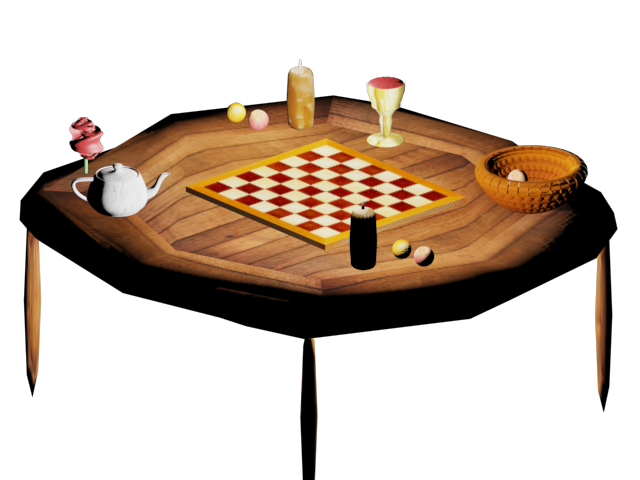
Chess Table & Pieces
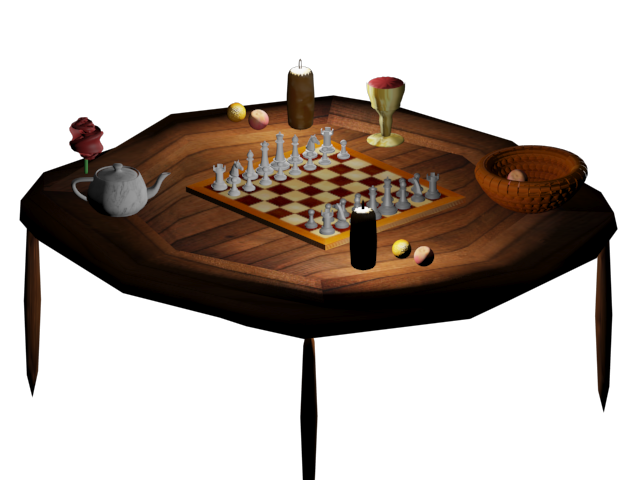
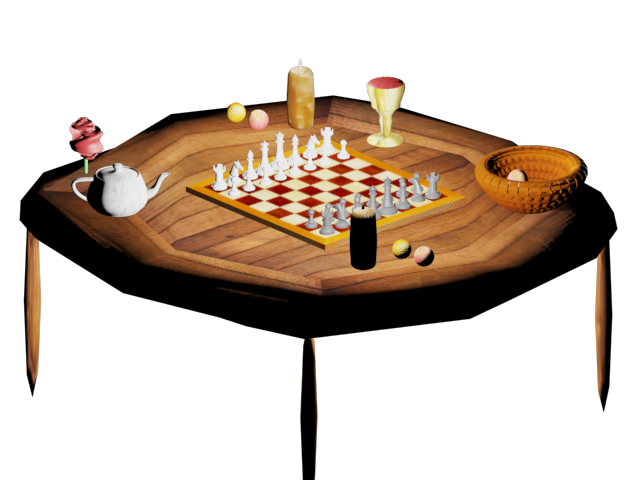
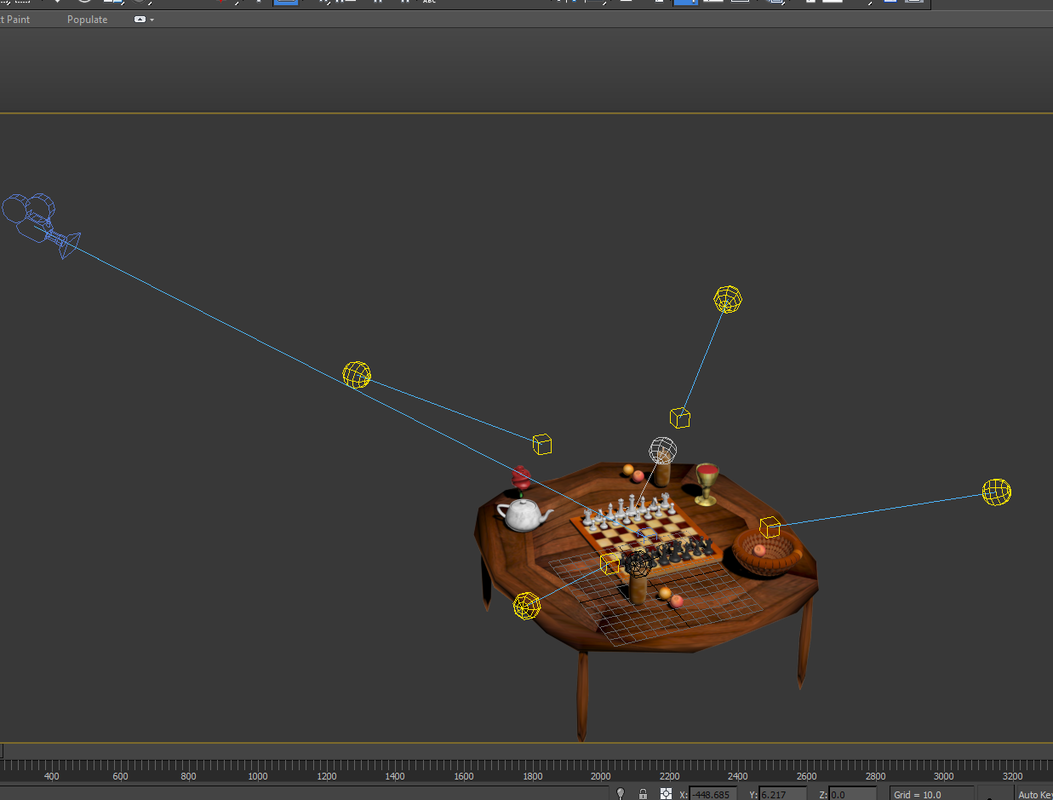
For the table, I just copied it from my Table Project. To add the Chess Board I made a box and changed the material to make look like an actual chess board (Image 1). I rearranged the fruits, teapot, etc to make it more like two people are playing, I also added more fruits and another candle to emit light more light to see the other props (Image 1). I created the chess pieces by using a line to trace over a picture of chess pieces to make them a Lathe modifier to make them a 3D object (Image 2). I fixed the lighting and changed the angles where the flashlight was and changed the free light into a target light (Image 3). Now it's time to make an animation! (Image 4)
Created 11/29/16 - 12/20/16

|
|

|
|
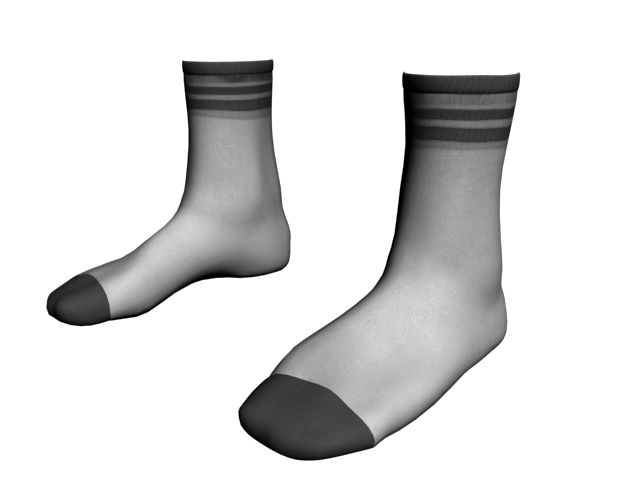
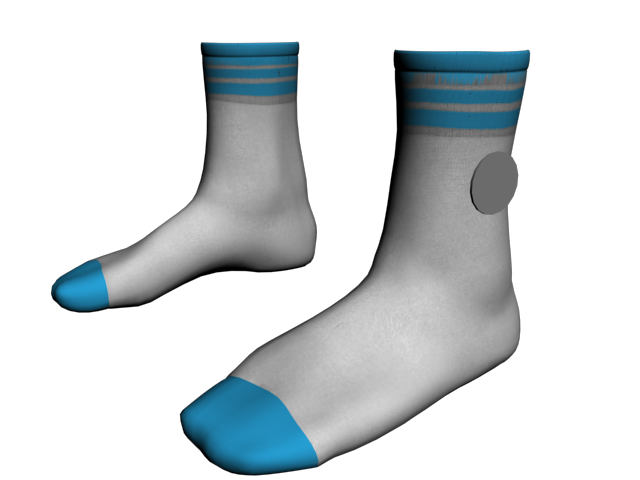
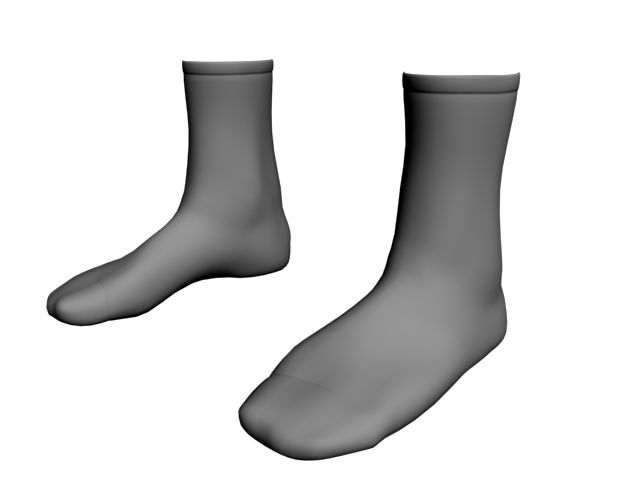
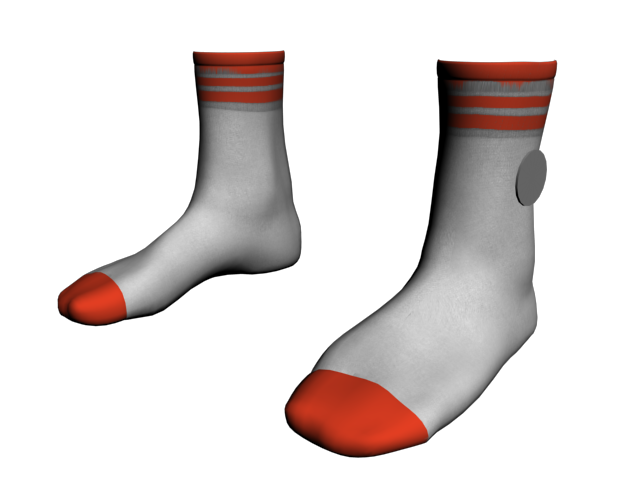
TT - Temperate Toes - Partner Project
To make this we first had to find a picture and draw over it with a line and turn it into a Lathe modifier, it turned out weird. So we needed to make some changes, so we had to move around the object by smoothing it and moving the vertexes. We also needed a logo which I made in Photoshop but wasn't imputed right so it had a white outlined background. We tried and successfully made more details of the car, to make the sock more like a foot, like a foot is in the sock instead of a folded 2D sock. We also started off the sock with just a blank sock with a foot which later we added as a material, the pattern was actually made on Photoshop template which we found on the internet but I was able to change the color to a blue/white for ICE and red/orange for fire.
Created 1/17/17
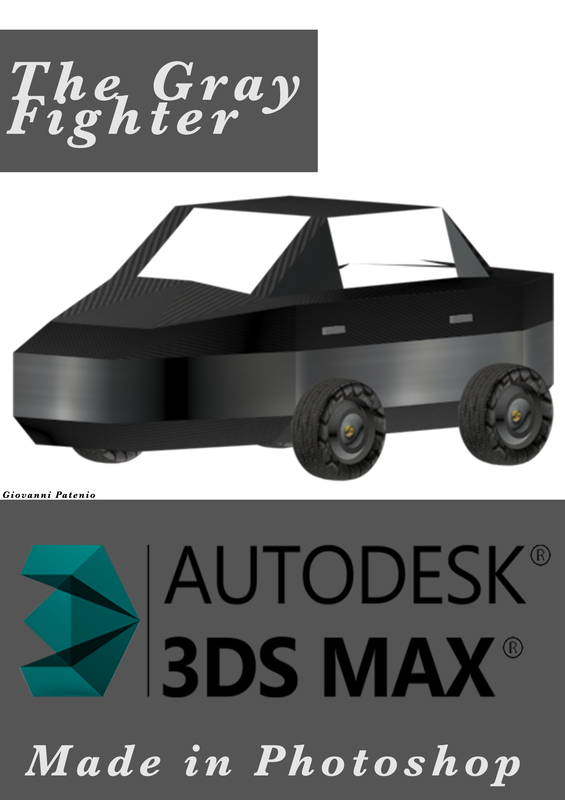
Car Poster
This was made on photoshop, we used this car from a earlier project this year and decided to make it into a poster. We did this to get a little bit familiar with Photoshop. The pictures I used was my car from a earlier project and the Autodesk 3DS Max logo. And added extra details such as the name of the car and the gray blocks to overlay the text and logo instead of a black white background.
Created 2/6/17 - 2/17/17

|
|


|


|
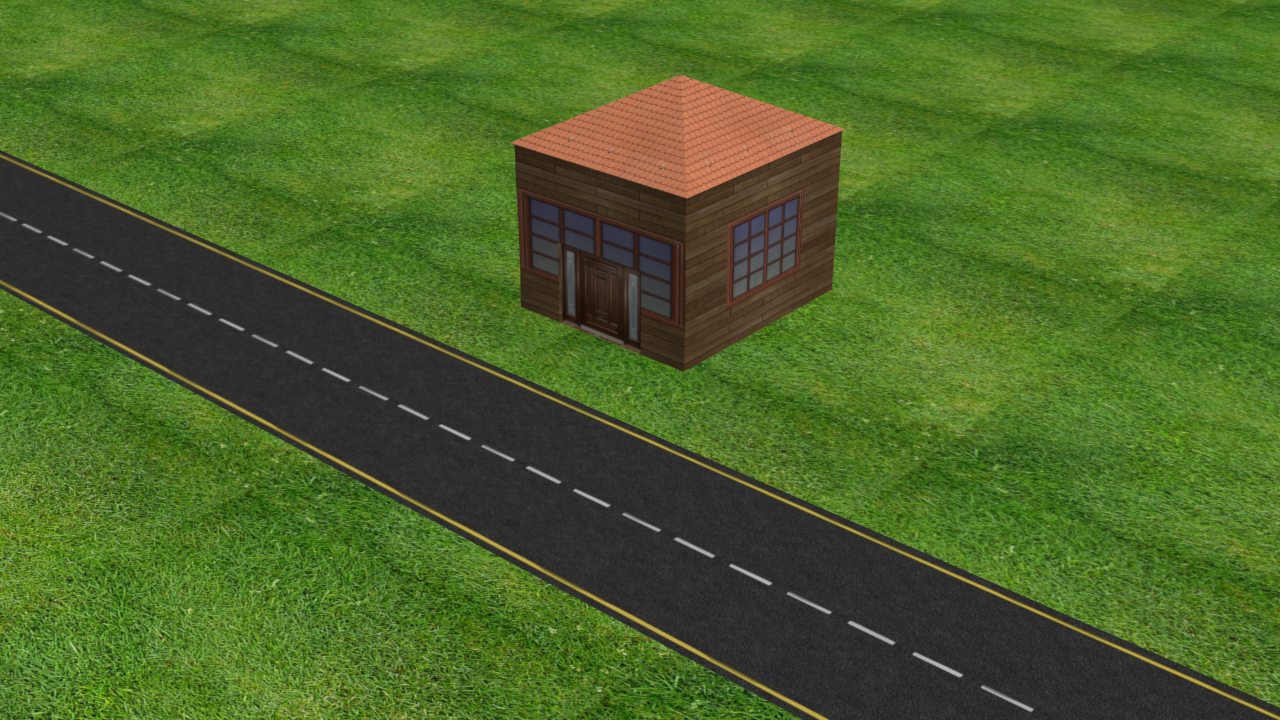
House w/3 Textures and Bipeds
To make this house I used 3 textures for the house; roof, window and door. I first created the box then separated it into separate pieces by converting it into editable poly and used Polygon. Each box with a texture is it's own object. It's just connected, the reason I separated them was because it was easier to put a material on instead if adding and changing each piece like my previous project with the dice in Semester 1. When I was finished making the rood as a pyramid and the house as a square I decided to add more details by adding grass and a road beside the house. In this project I also figured out how to extend the material longer and stop it from being blurry. I used UVW map which extends the material's size.
Created 2/24/17 - 3/2/17
|
|
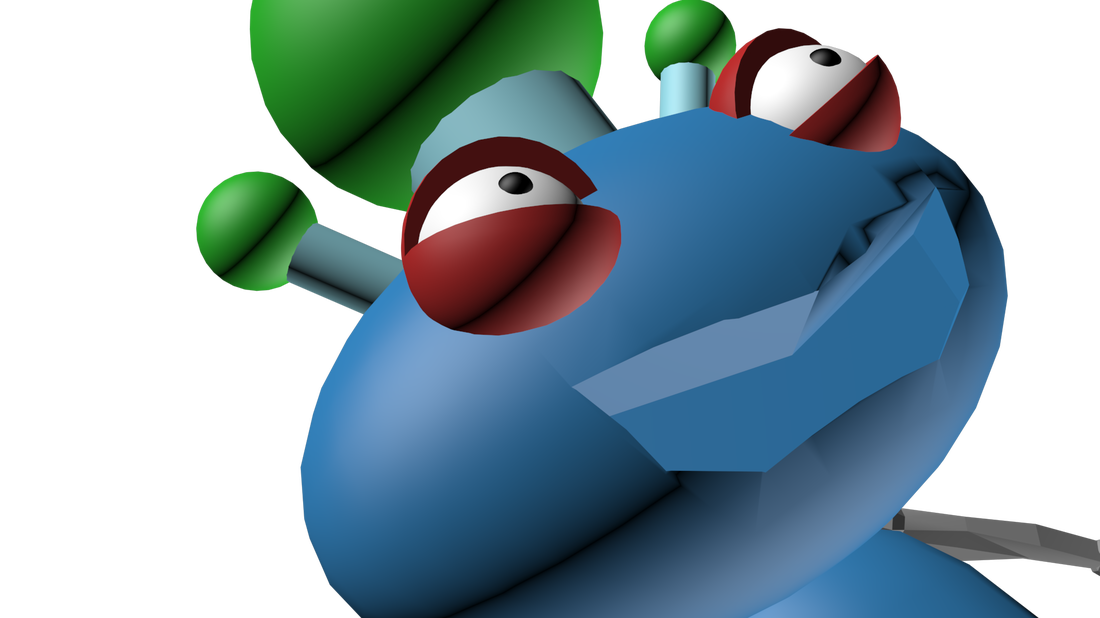
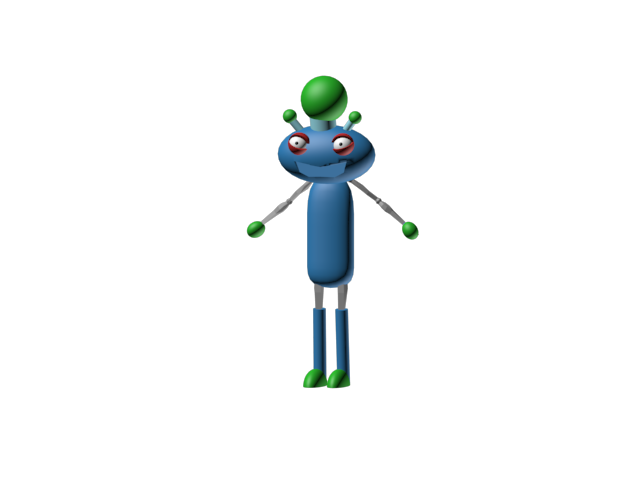
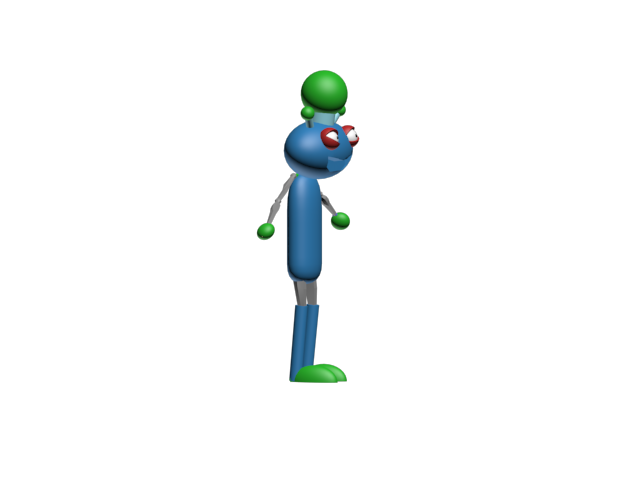
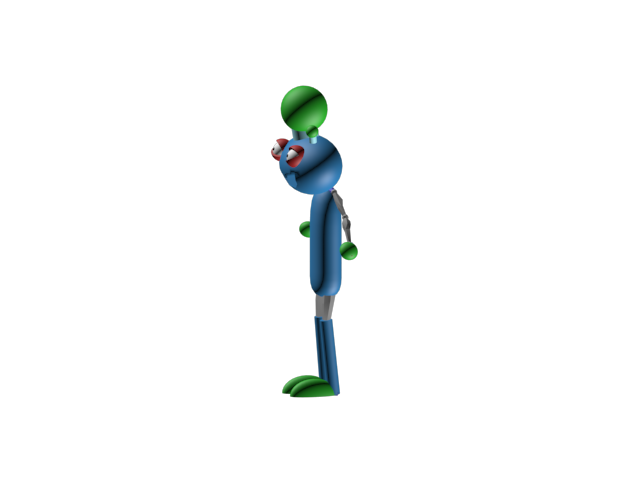
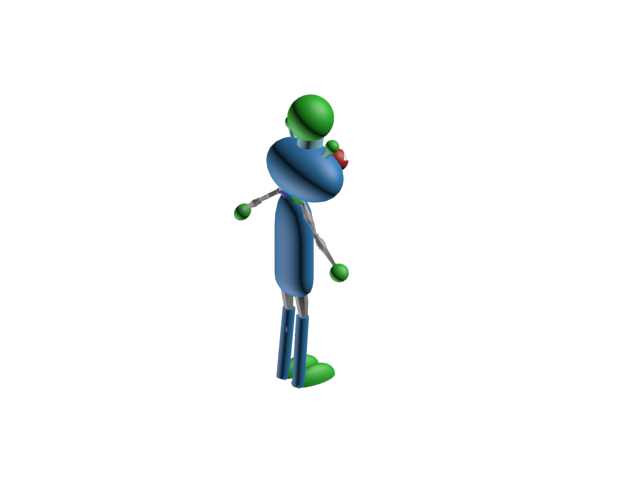
Alien - Character Model #1
Creating this all I did was use simple shapes and one biped. I used cylinders and spheres. I warped the sphere into a oval to make the body and use the sphere to make an oval then cut it for the feet. I used the cylinders as the legs and part of the antennas. The bulbs connecting to the Alien's antennas was also made as a sphere, so was the hands.
Created 3/27/17 - 5/18/17
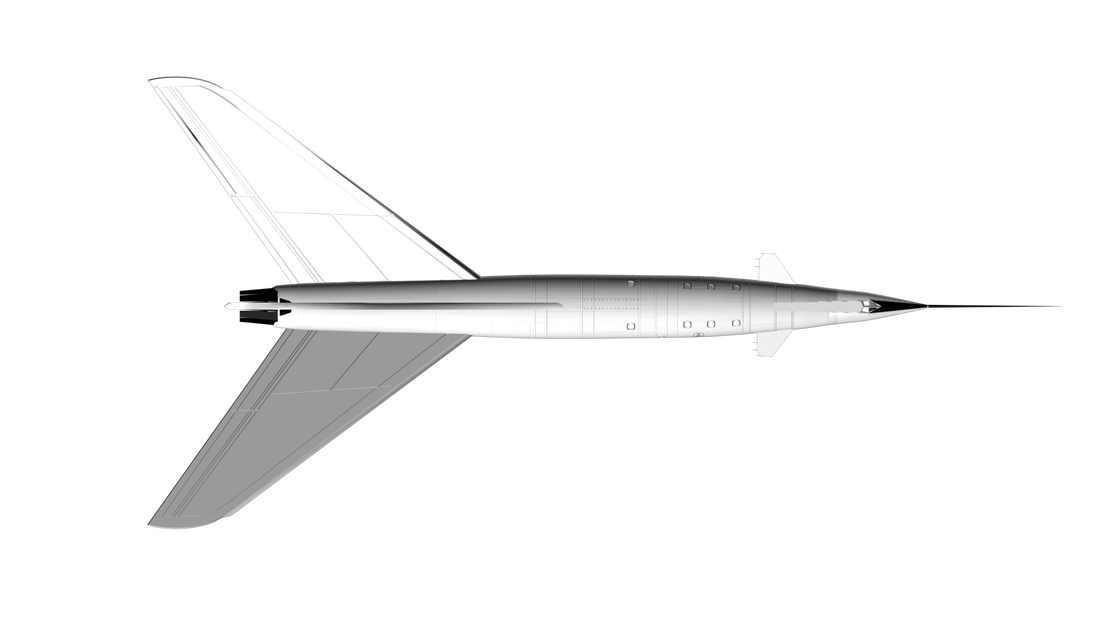
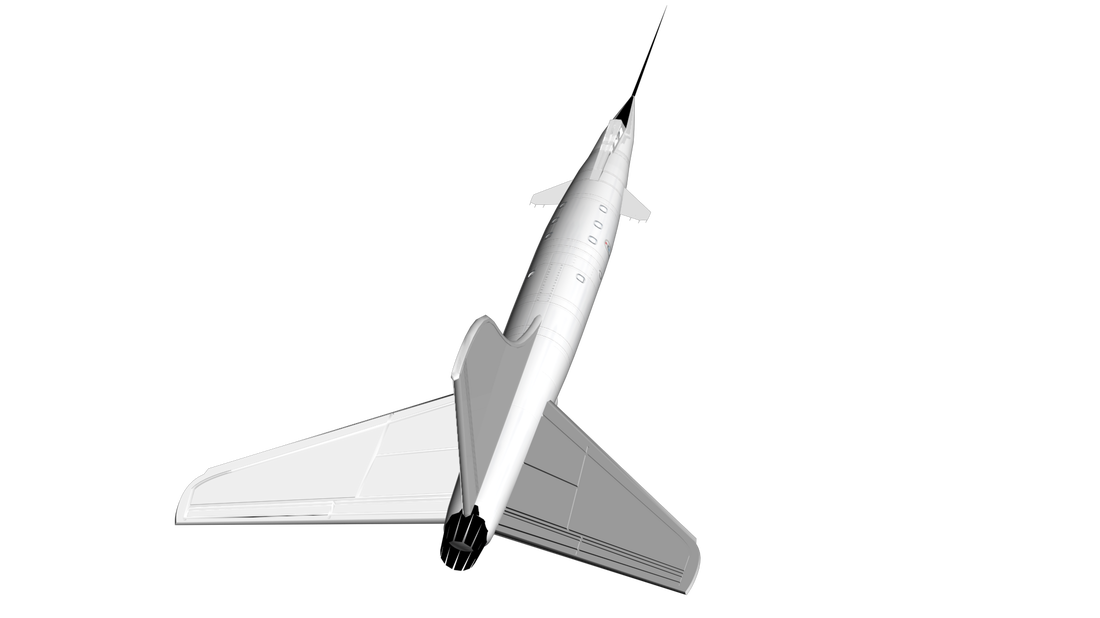
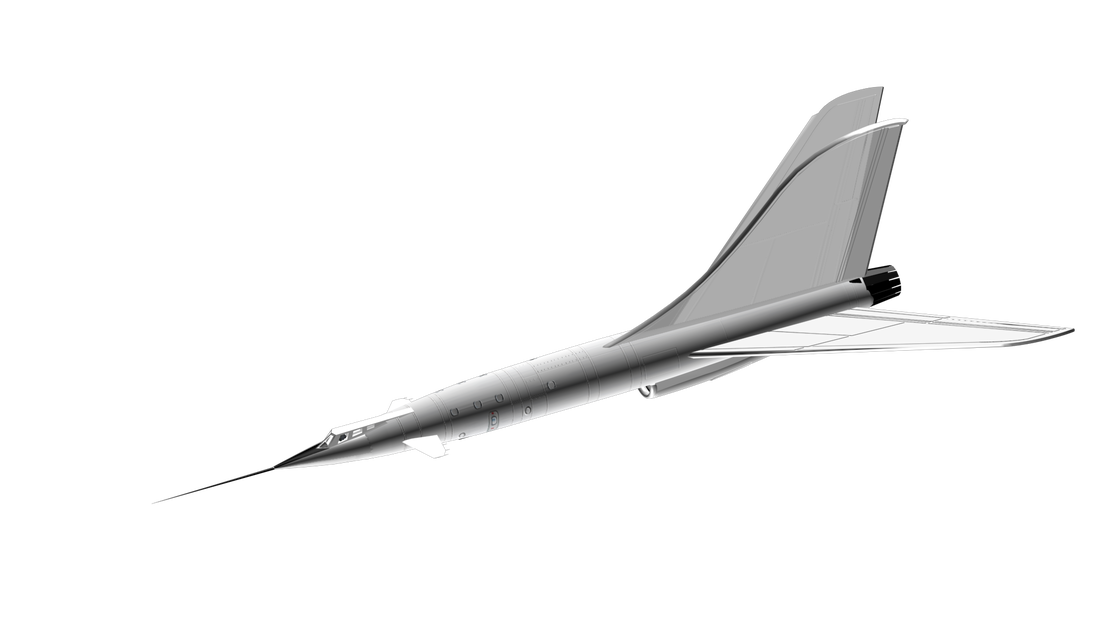
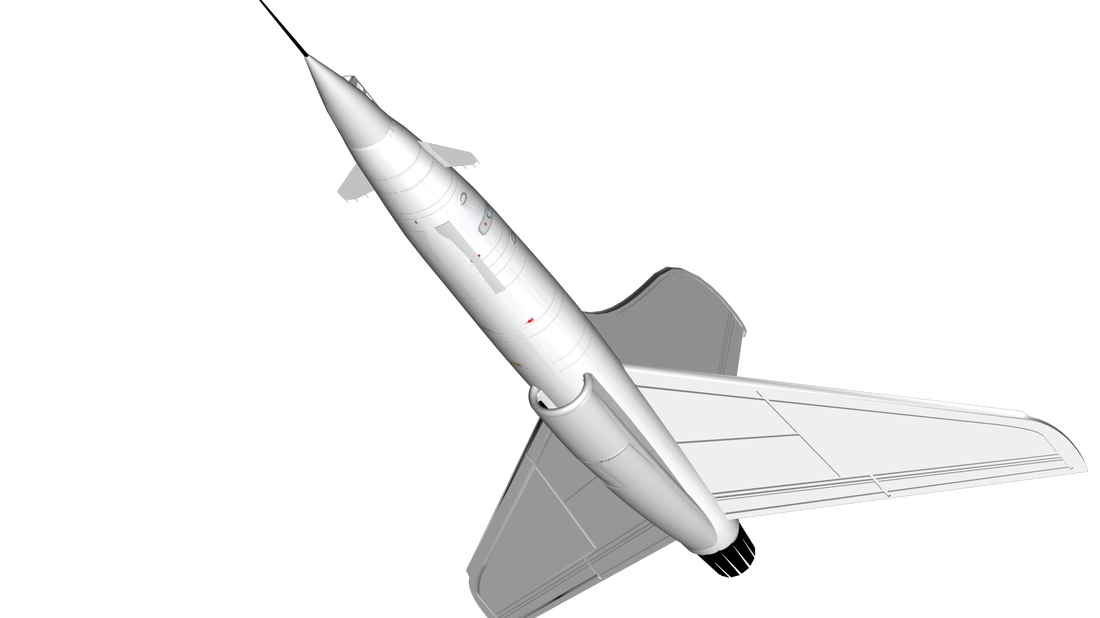
Spaceship
|
|
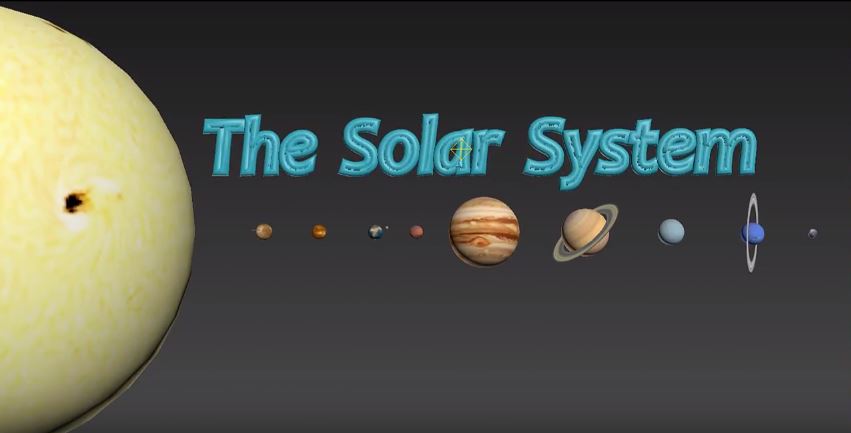
Planets
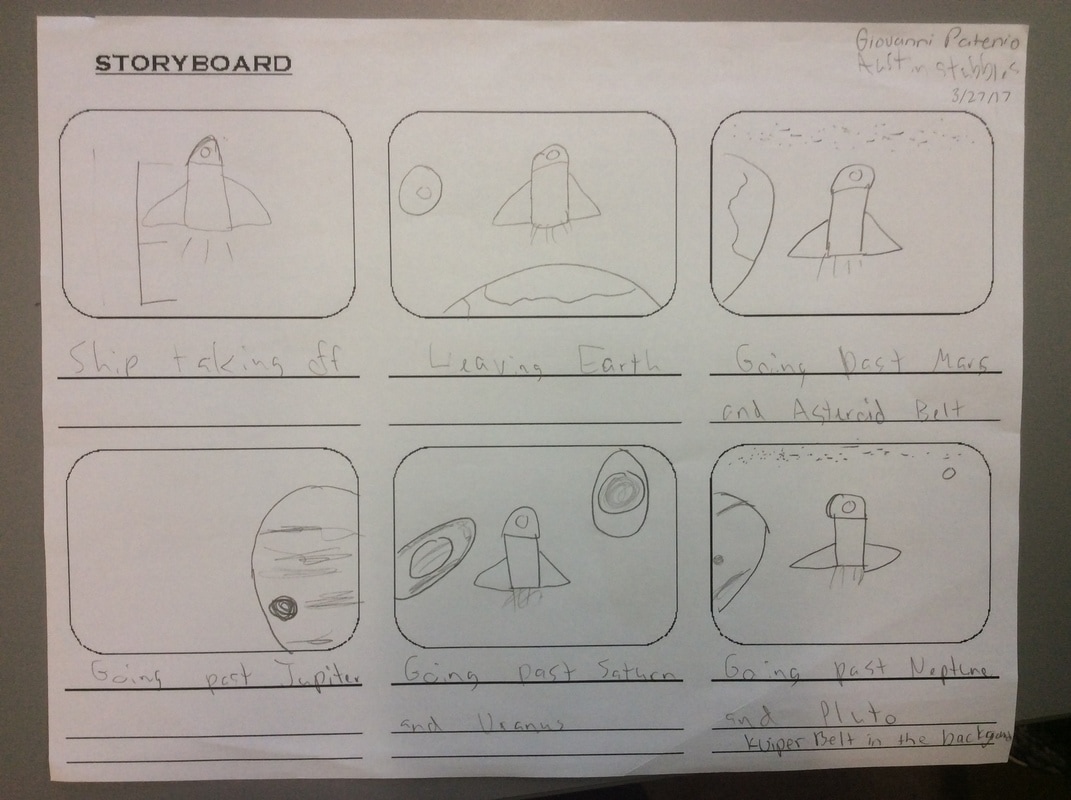
Cruising Through Space - Partner Project (Final April Animation)
We will start by a spaceship leaving Earth and starts a journey to Pluto from our home planet Earth. First, the spaceship will land on the moon and land on it for not that long. Next, it'll reach the Mars then cruise to Jupiter. I showed off a little of Jupiter's red spot but not for too long. Saturn is next and it grinds on the rings like a skateboard and instantly goes to Uranus then straight through Neptune's thin rings. Finally, I decided to add our ex-planet " Pluto ", even though it's no longer a planet of our solar system, I decided to add it anyways. It goes around Pluto back to the sun where we end the animation. Crediting me and my partner's name, Austin. Austin Stubbles is my partner in the project and we're proud of our work. We didn't fully complete it (rendering it) because we didn't finish in time so we just recorded it in Preview Mode.
So the way we made this project was making spheres and searched up some material for the planets. We researched how big the sphere has to be to fit the material but other than that it wasn't that hard, the researching part was the hardest. Lastly the rings, we just made a sphere, flattened it and made a whole around it to make a ring shape.
So the way we made this project was making spheres and searched up some material for the planets. We researched how big the sphere has to be to fit the material but other than that it wasn't that hard, the researching part was the hardest. Lastly the rings, we just made a sphere, flattened it and made a whole around it to make a ring shape.
